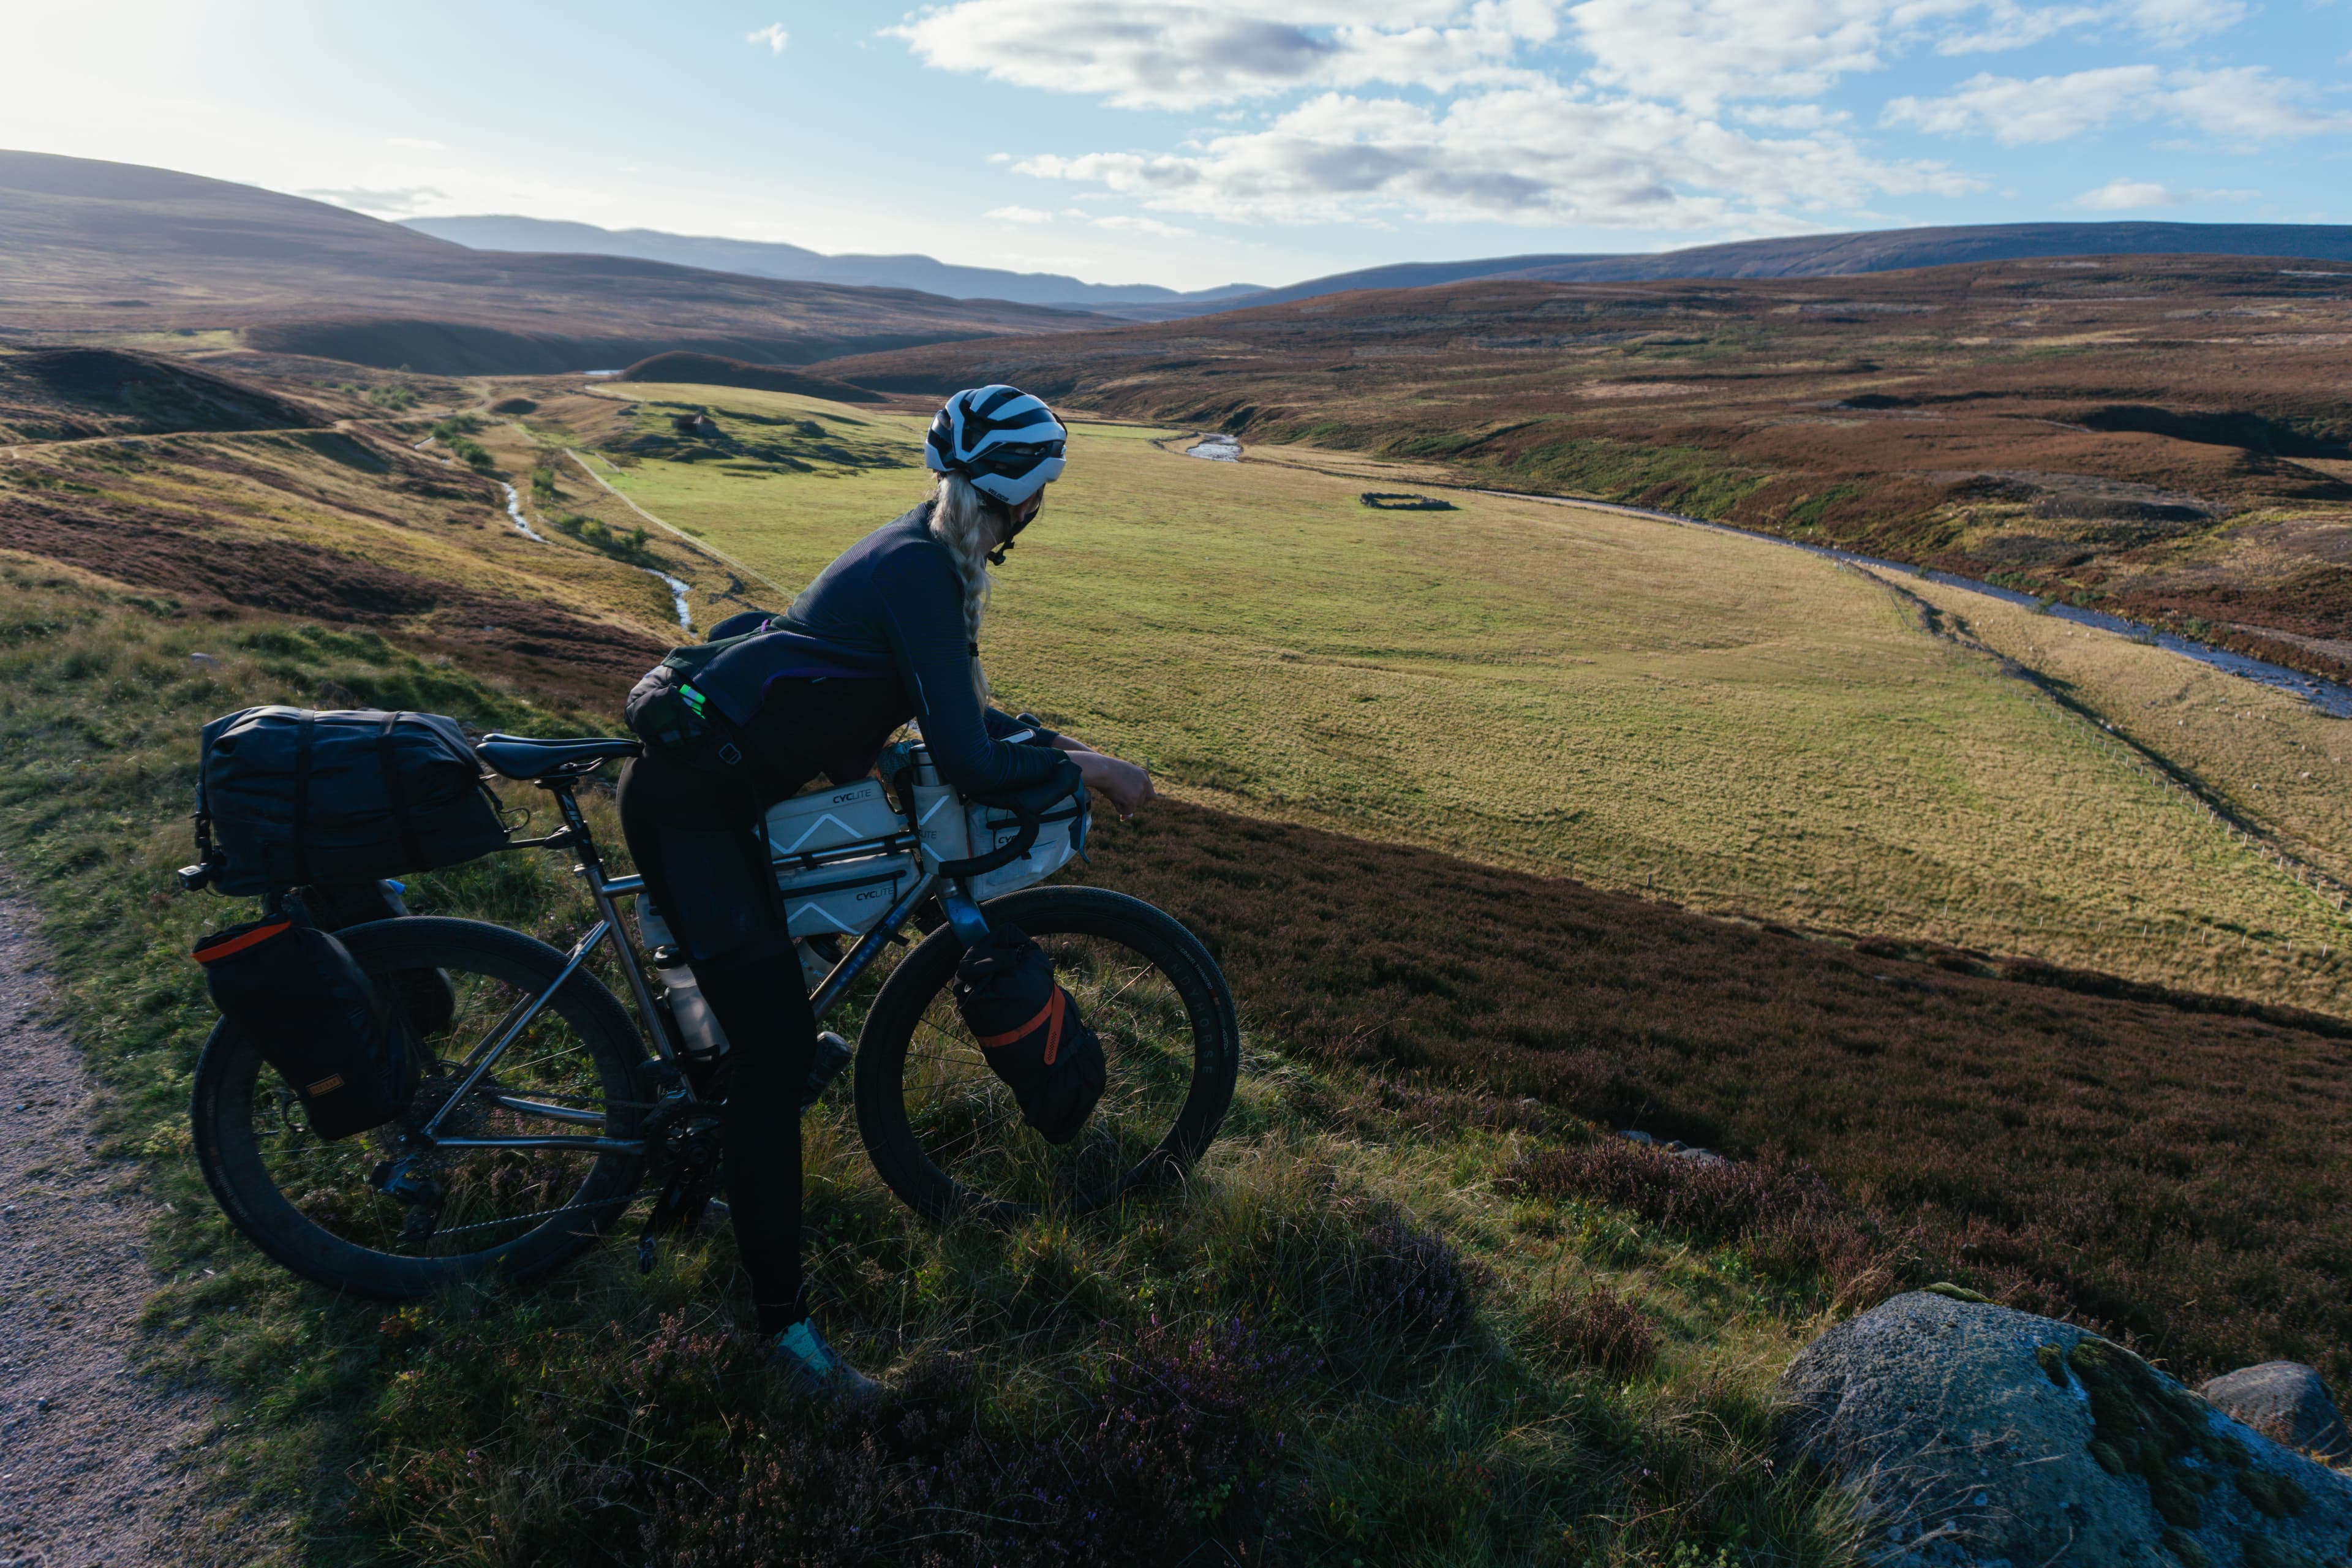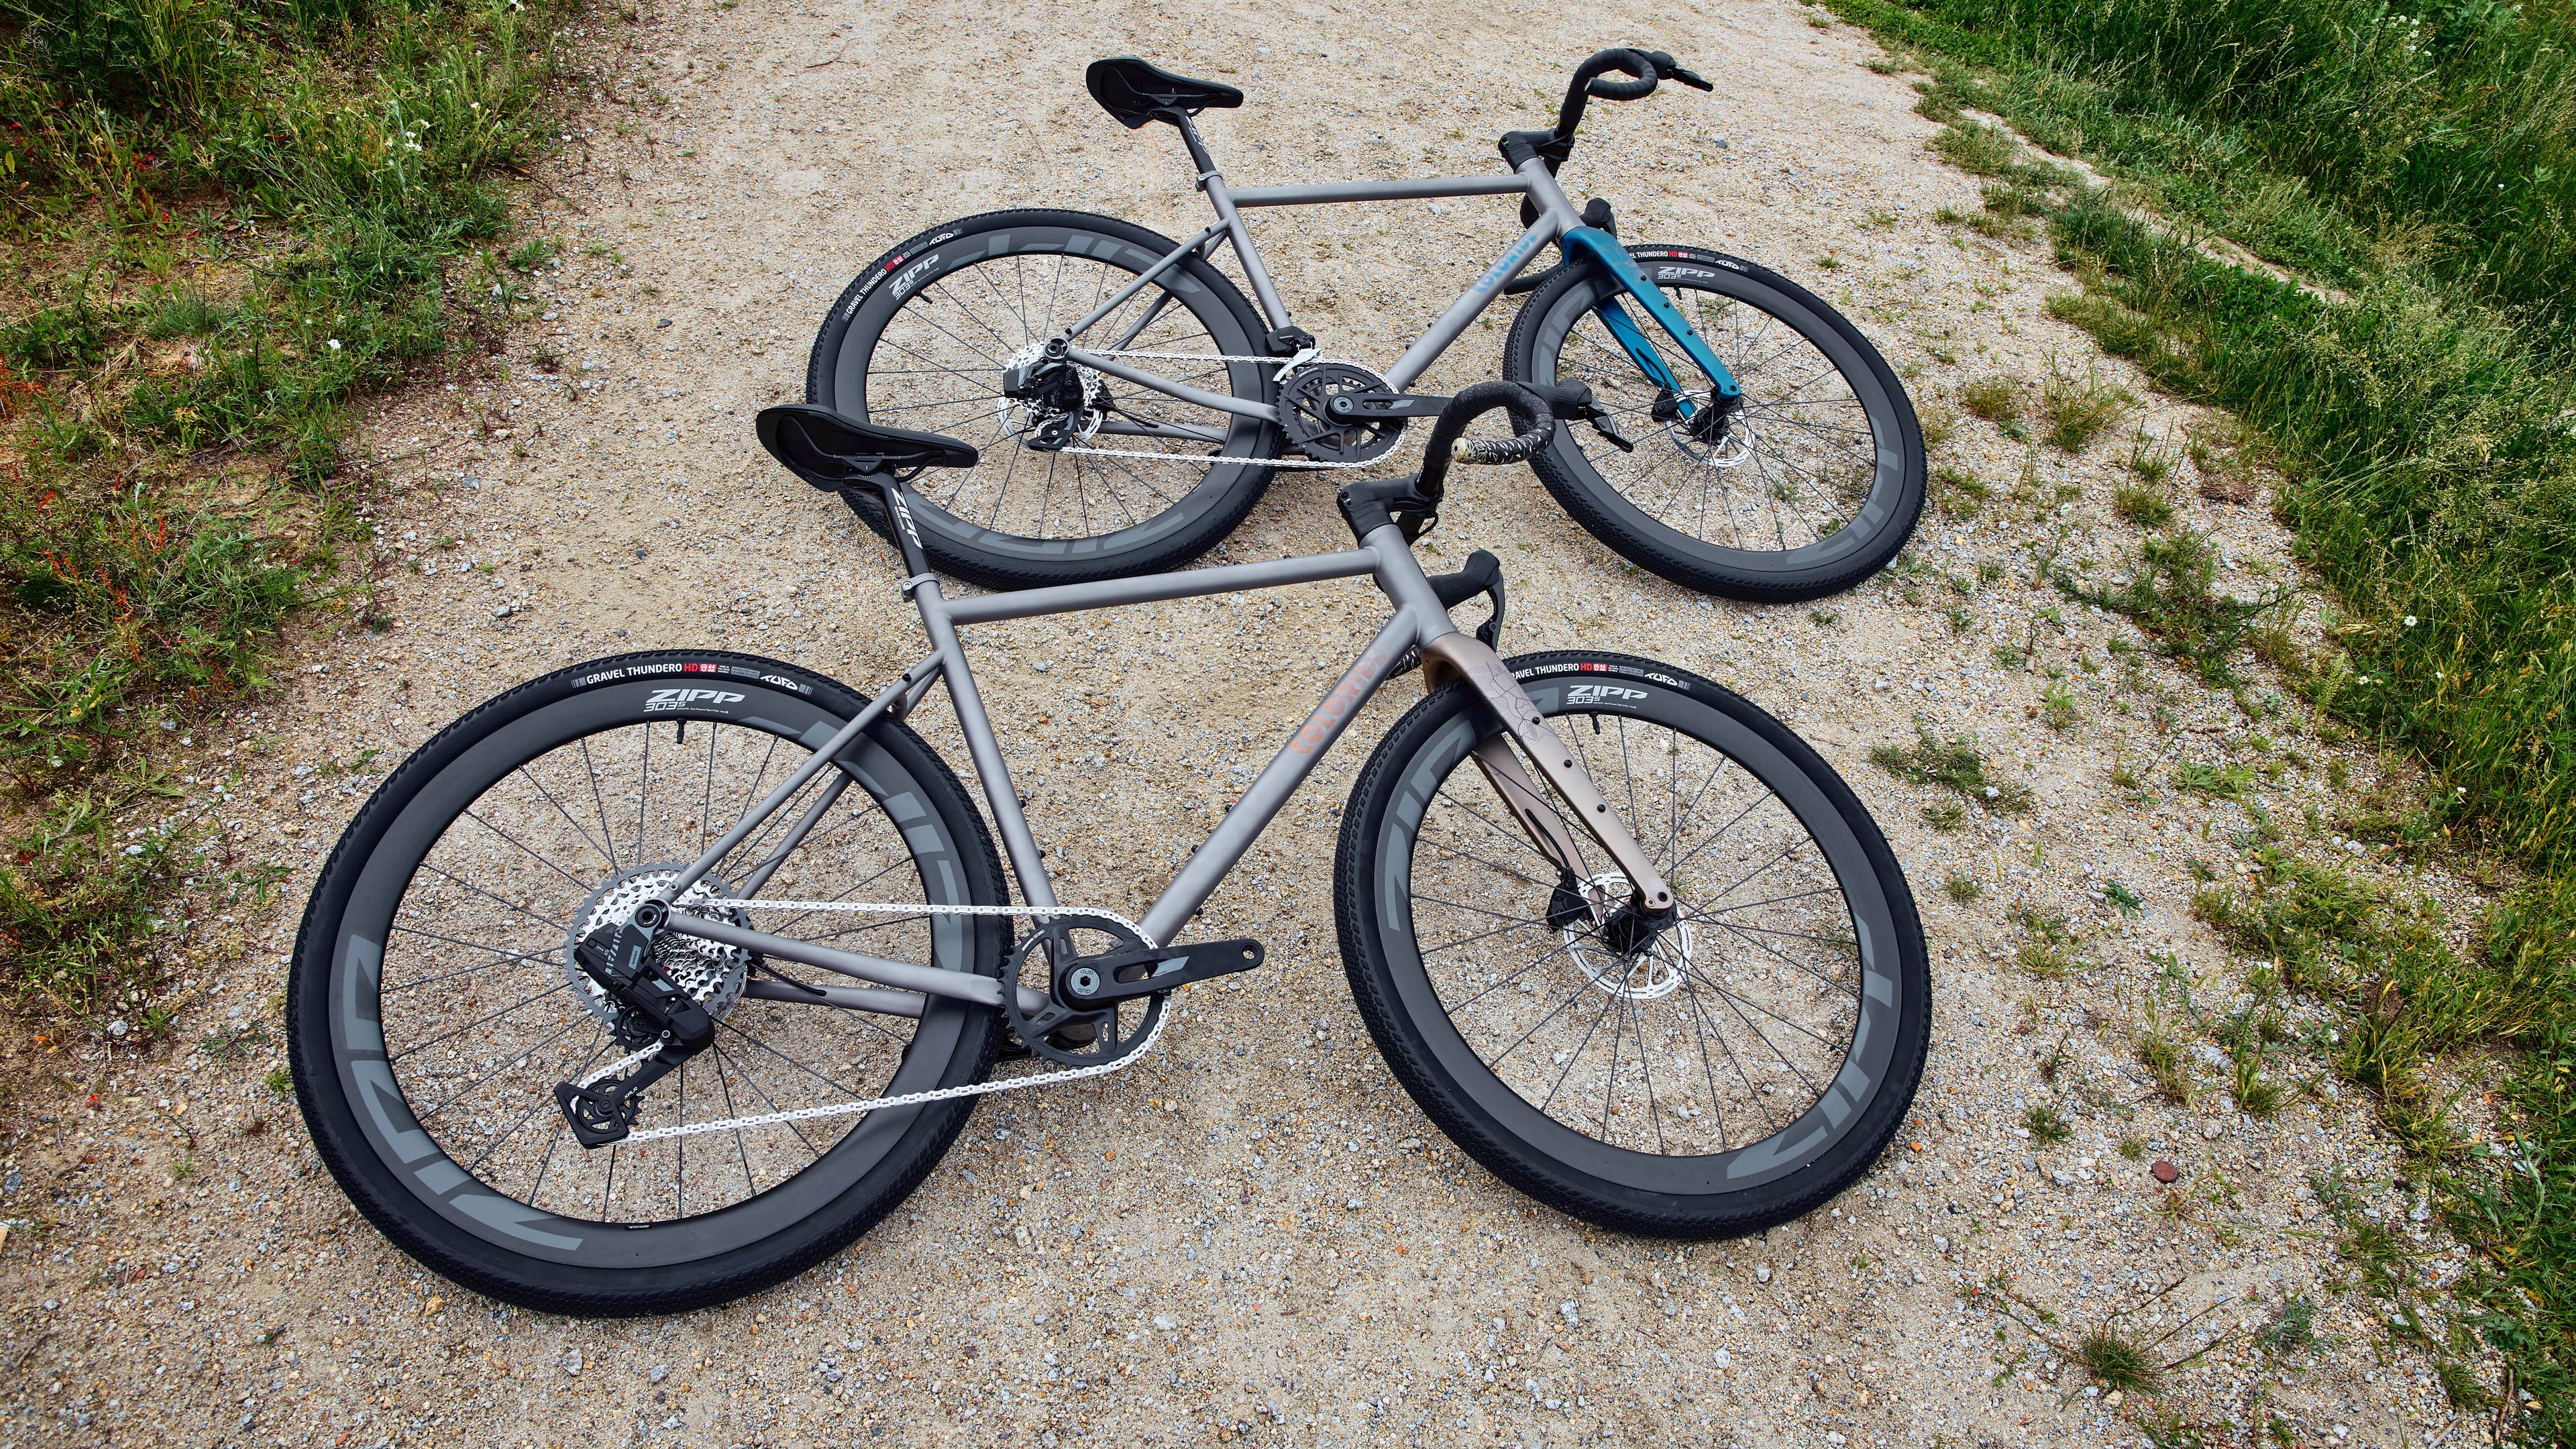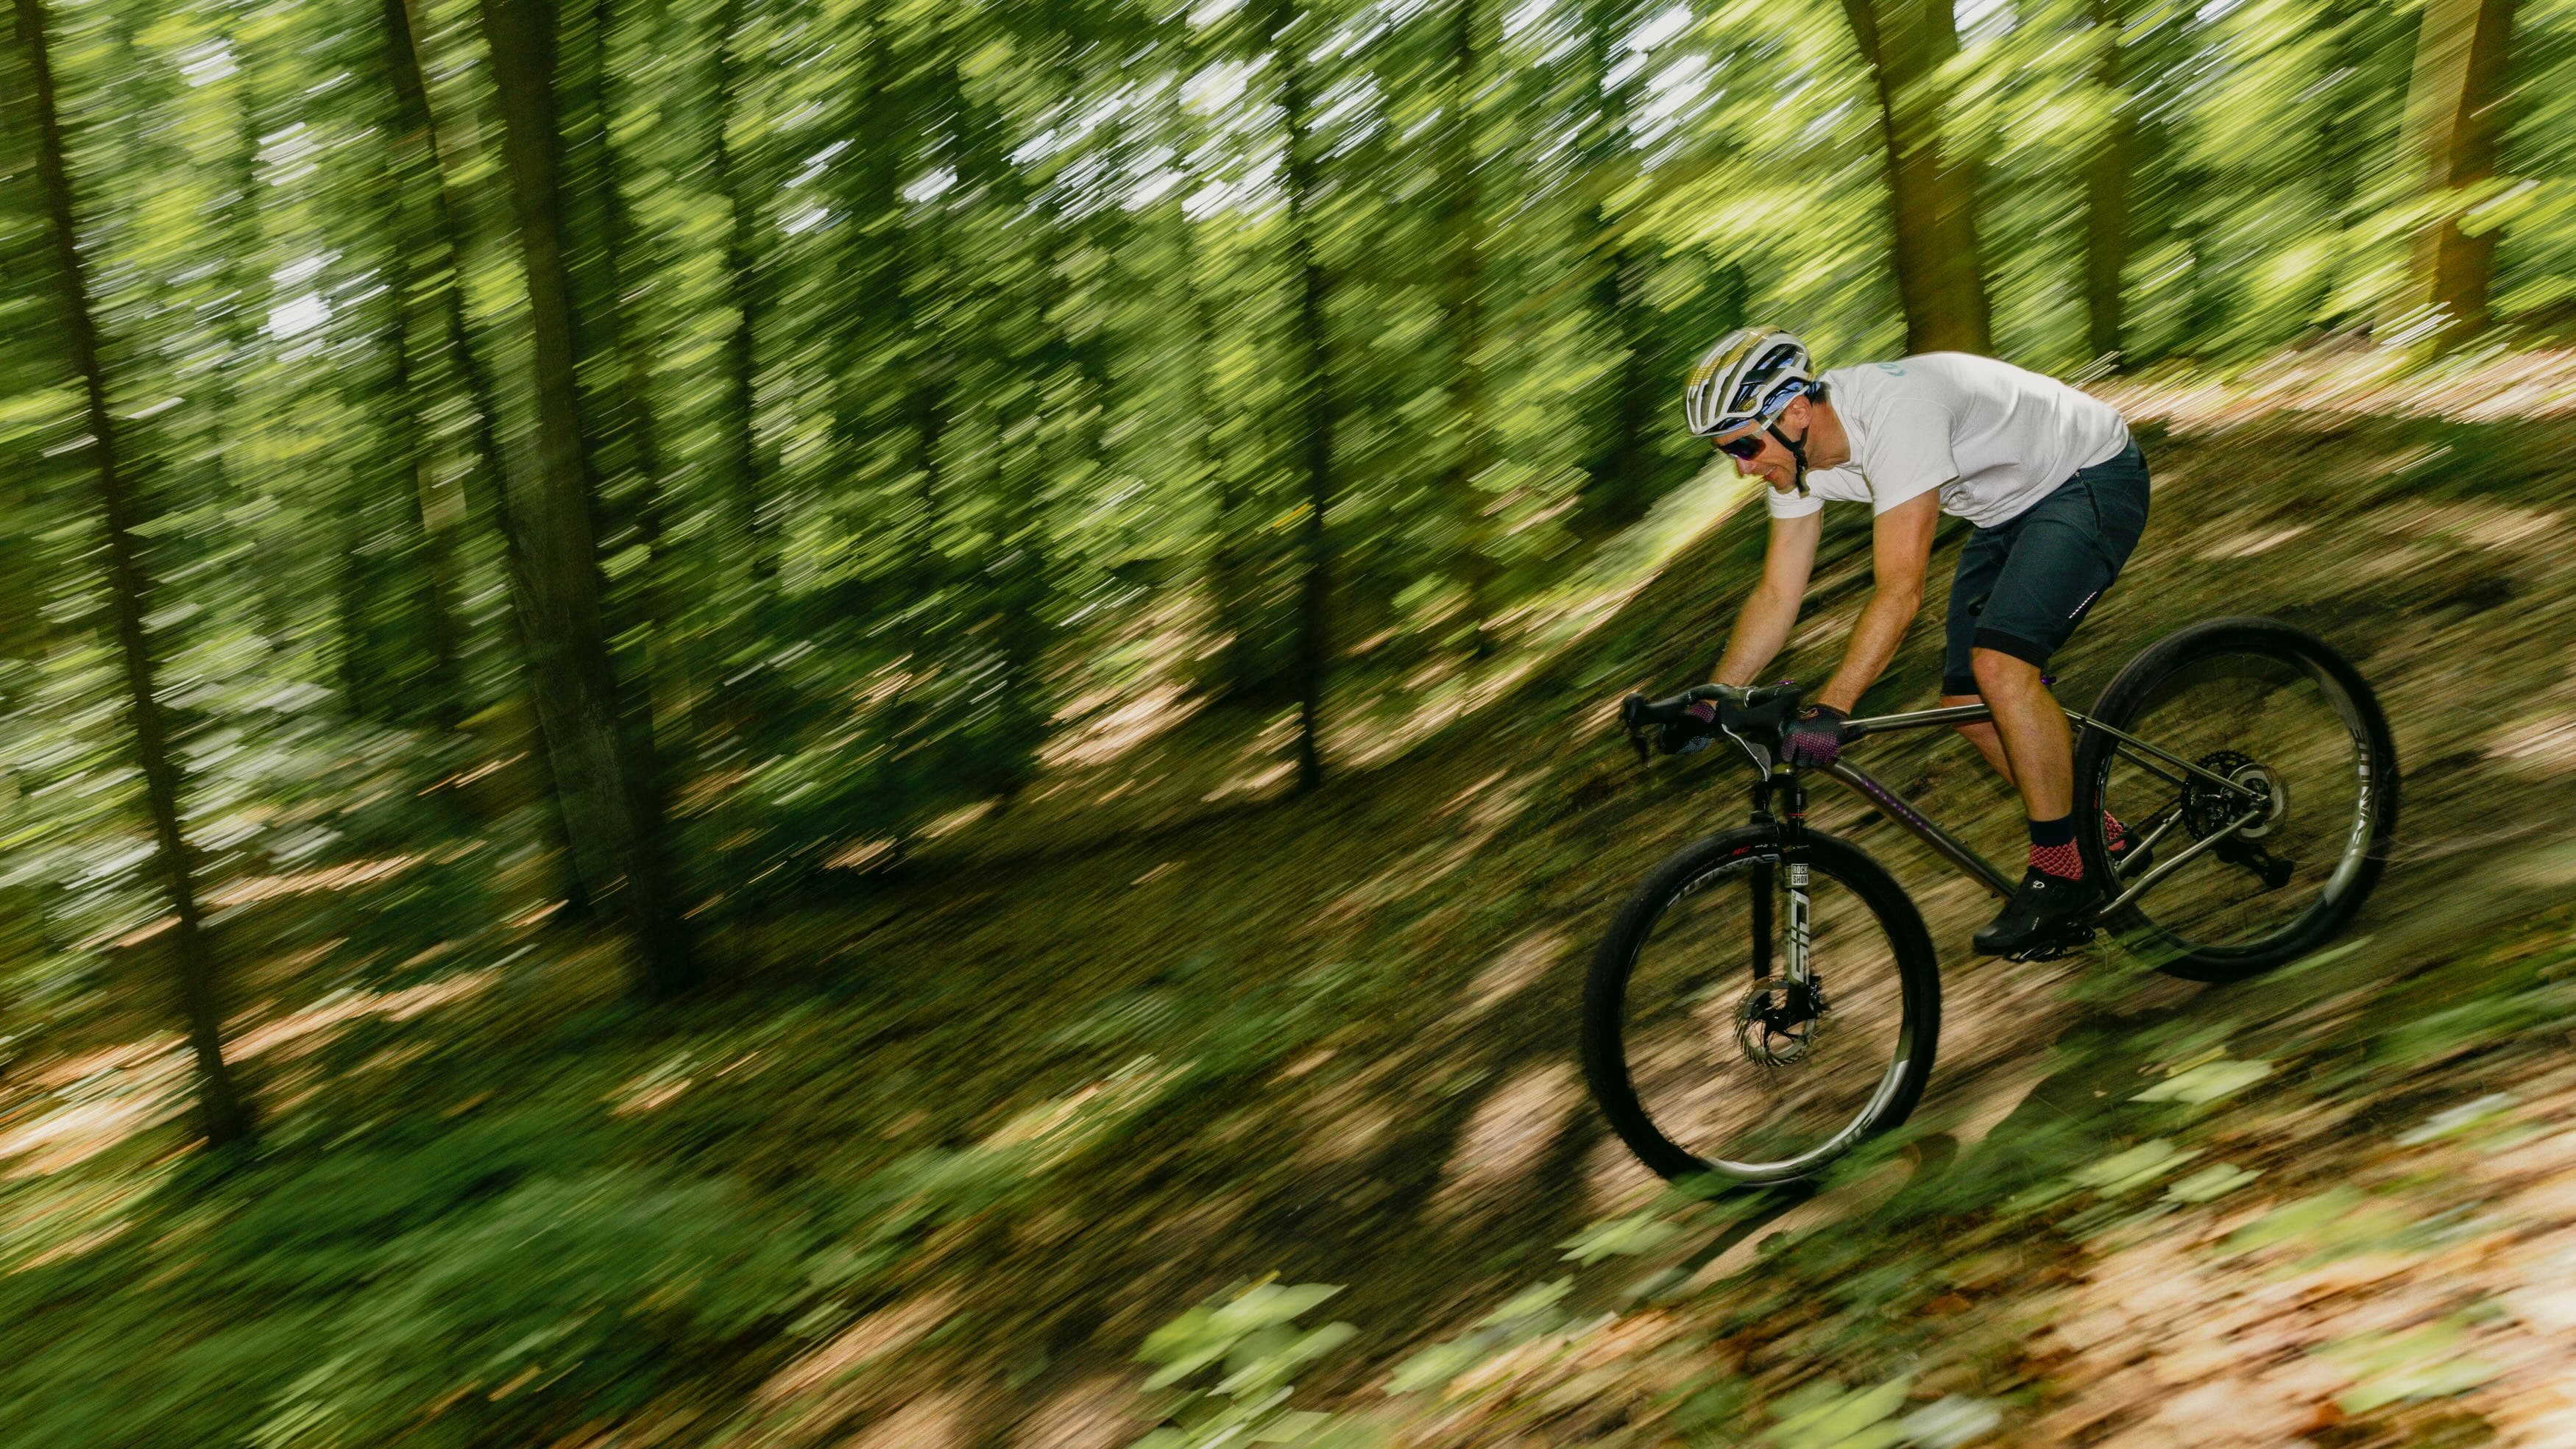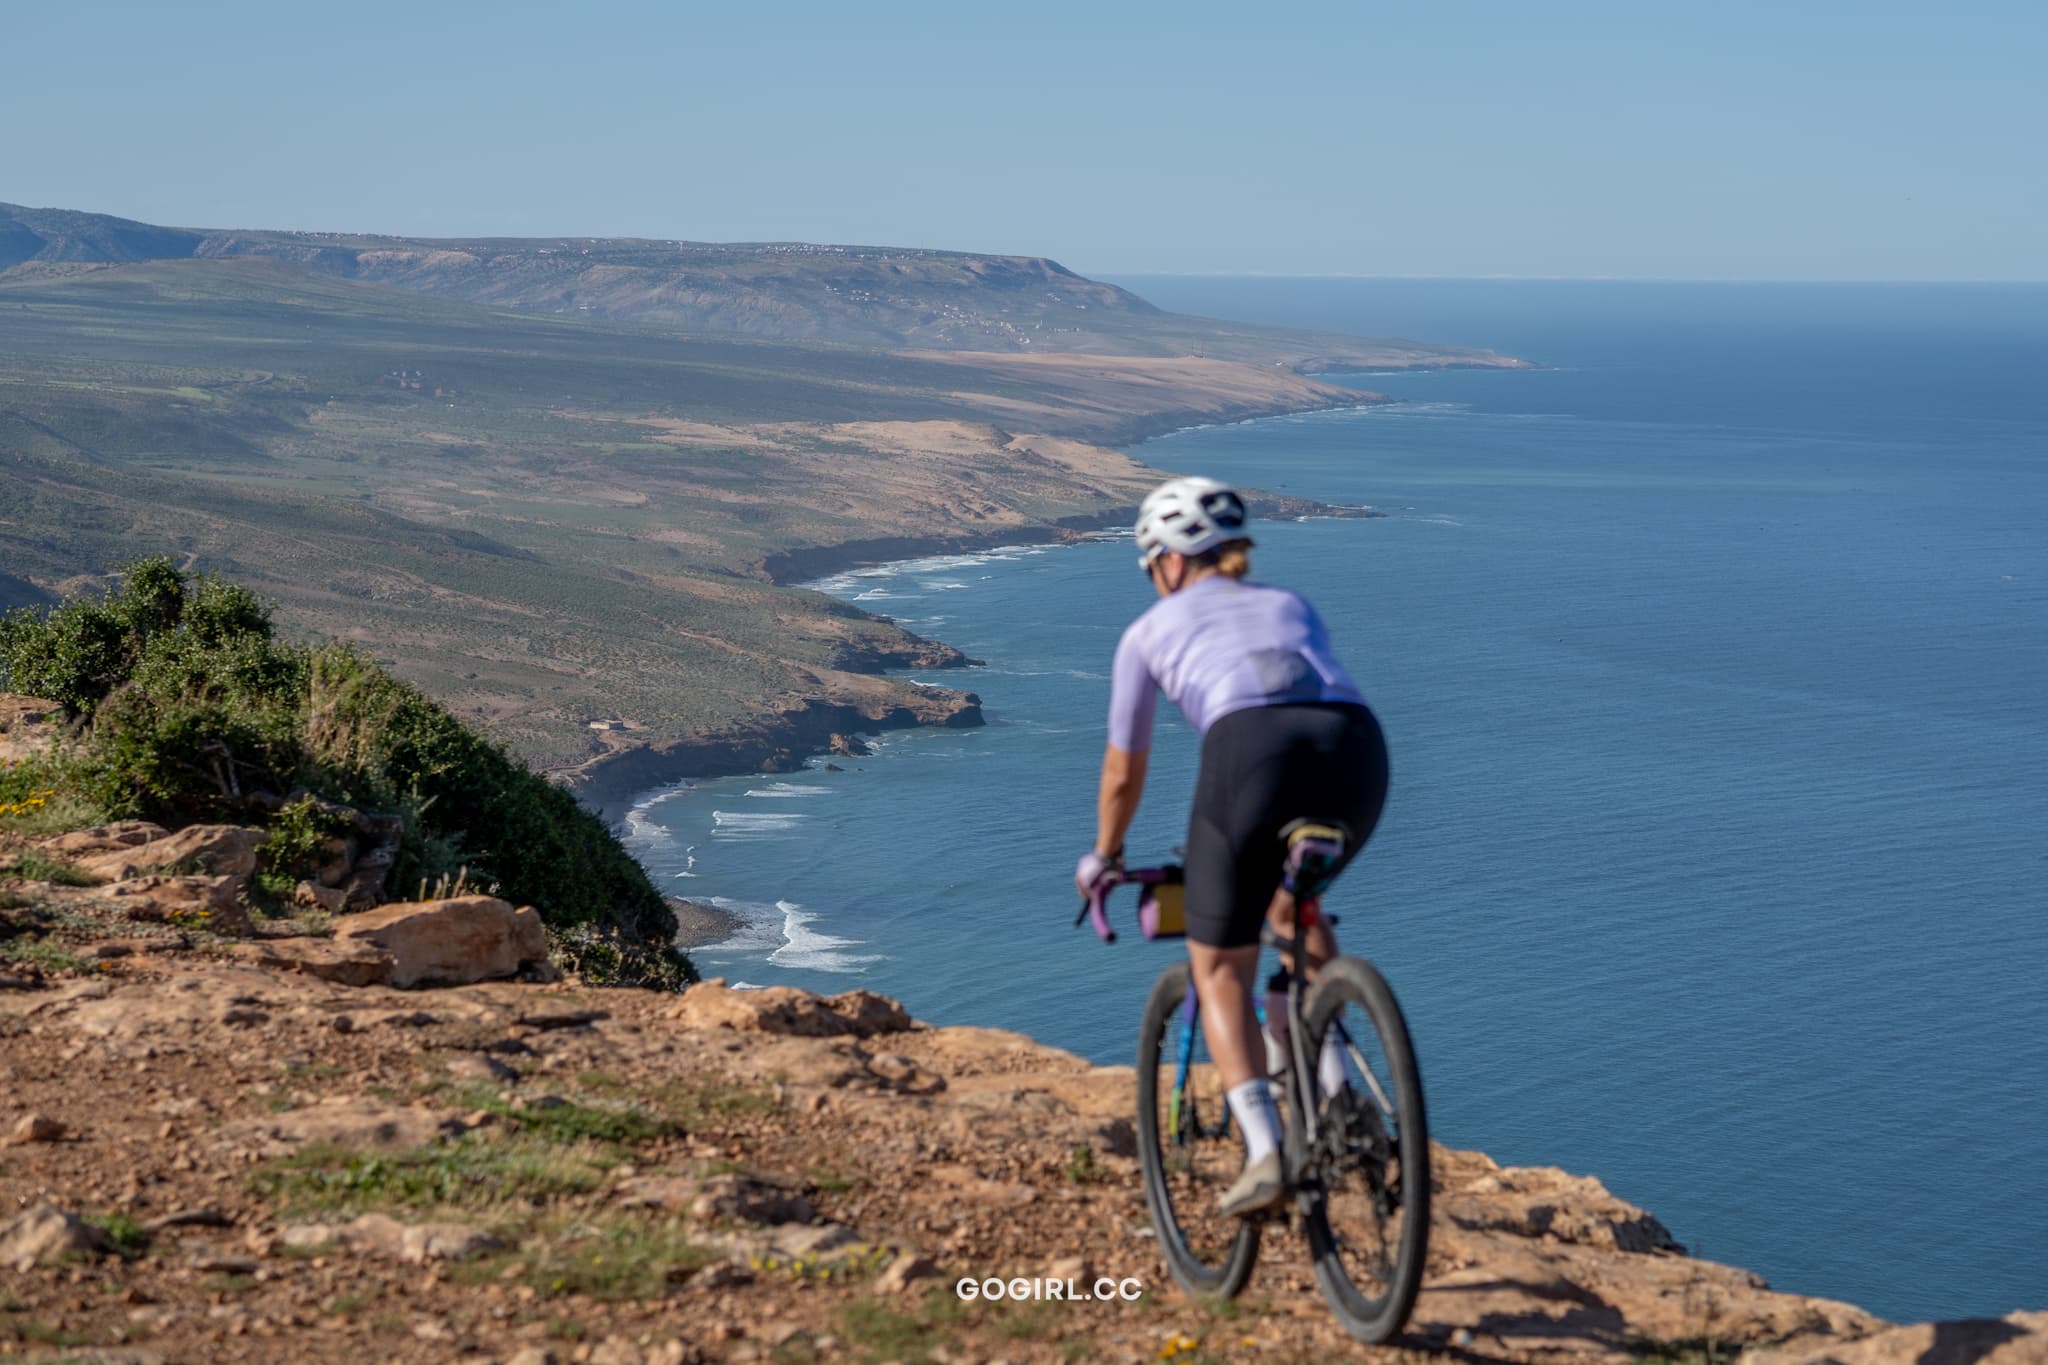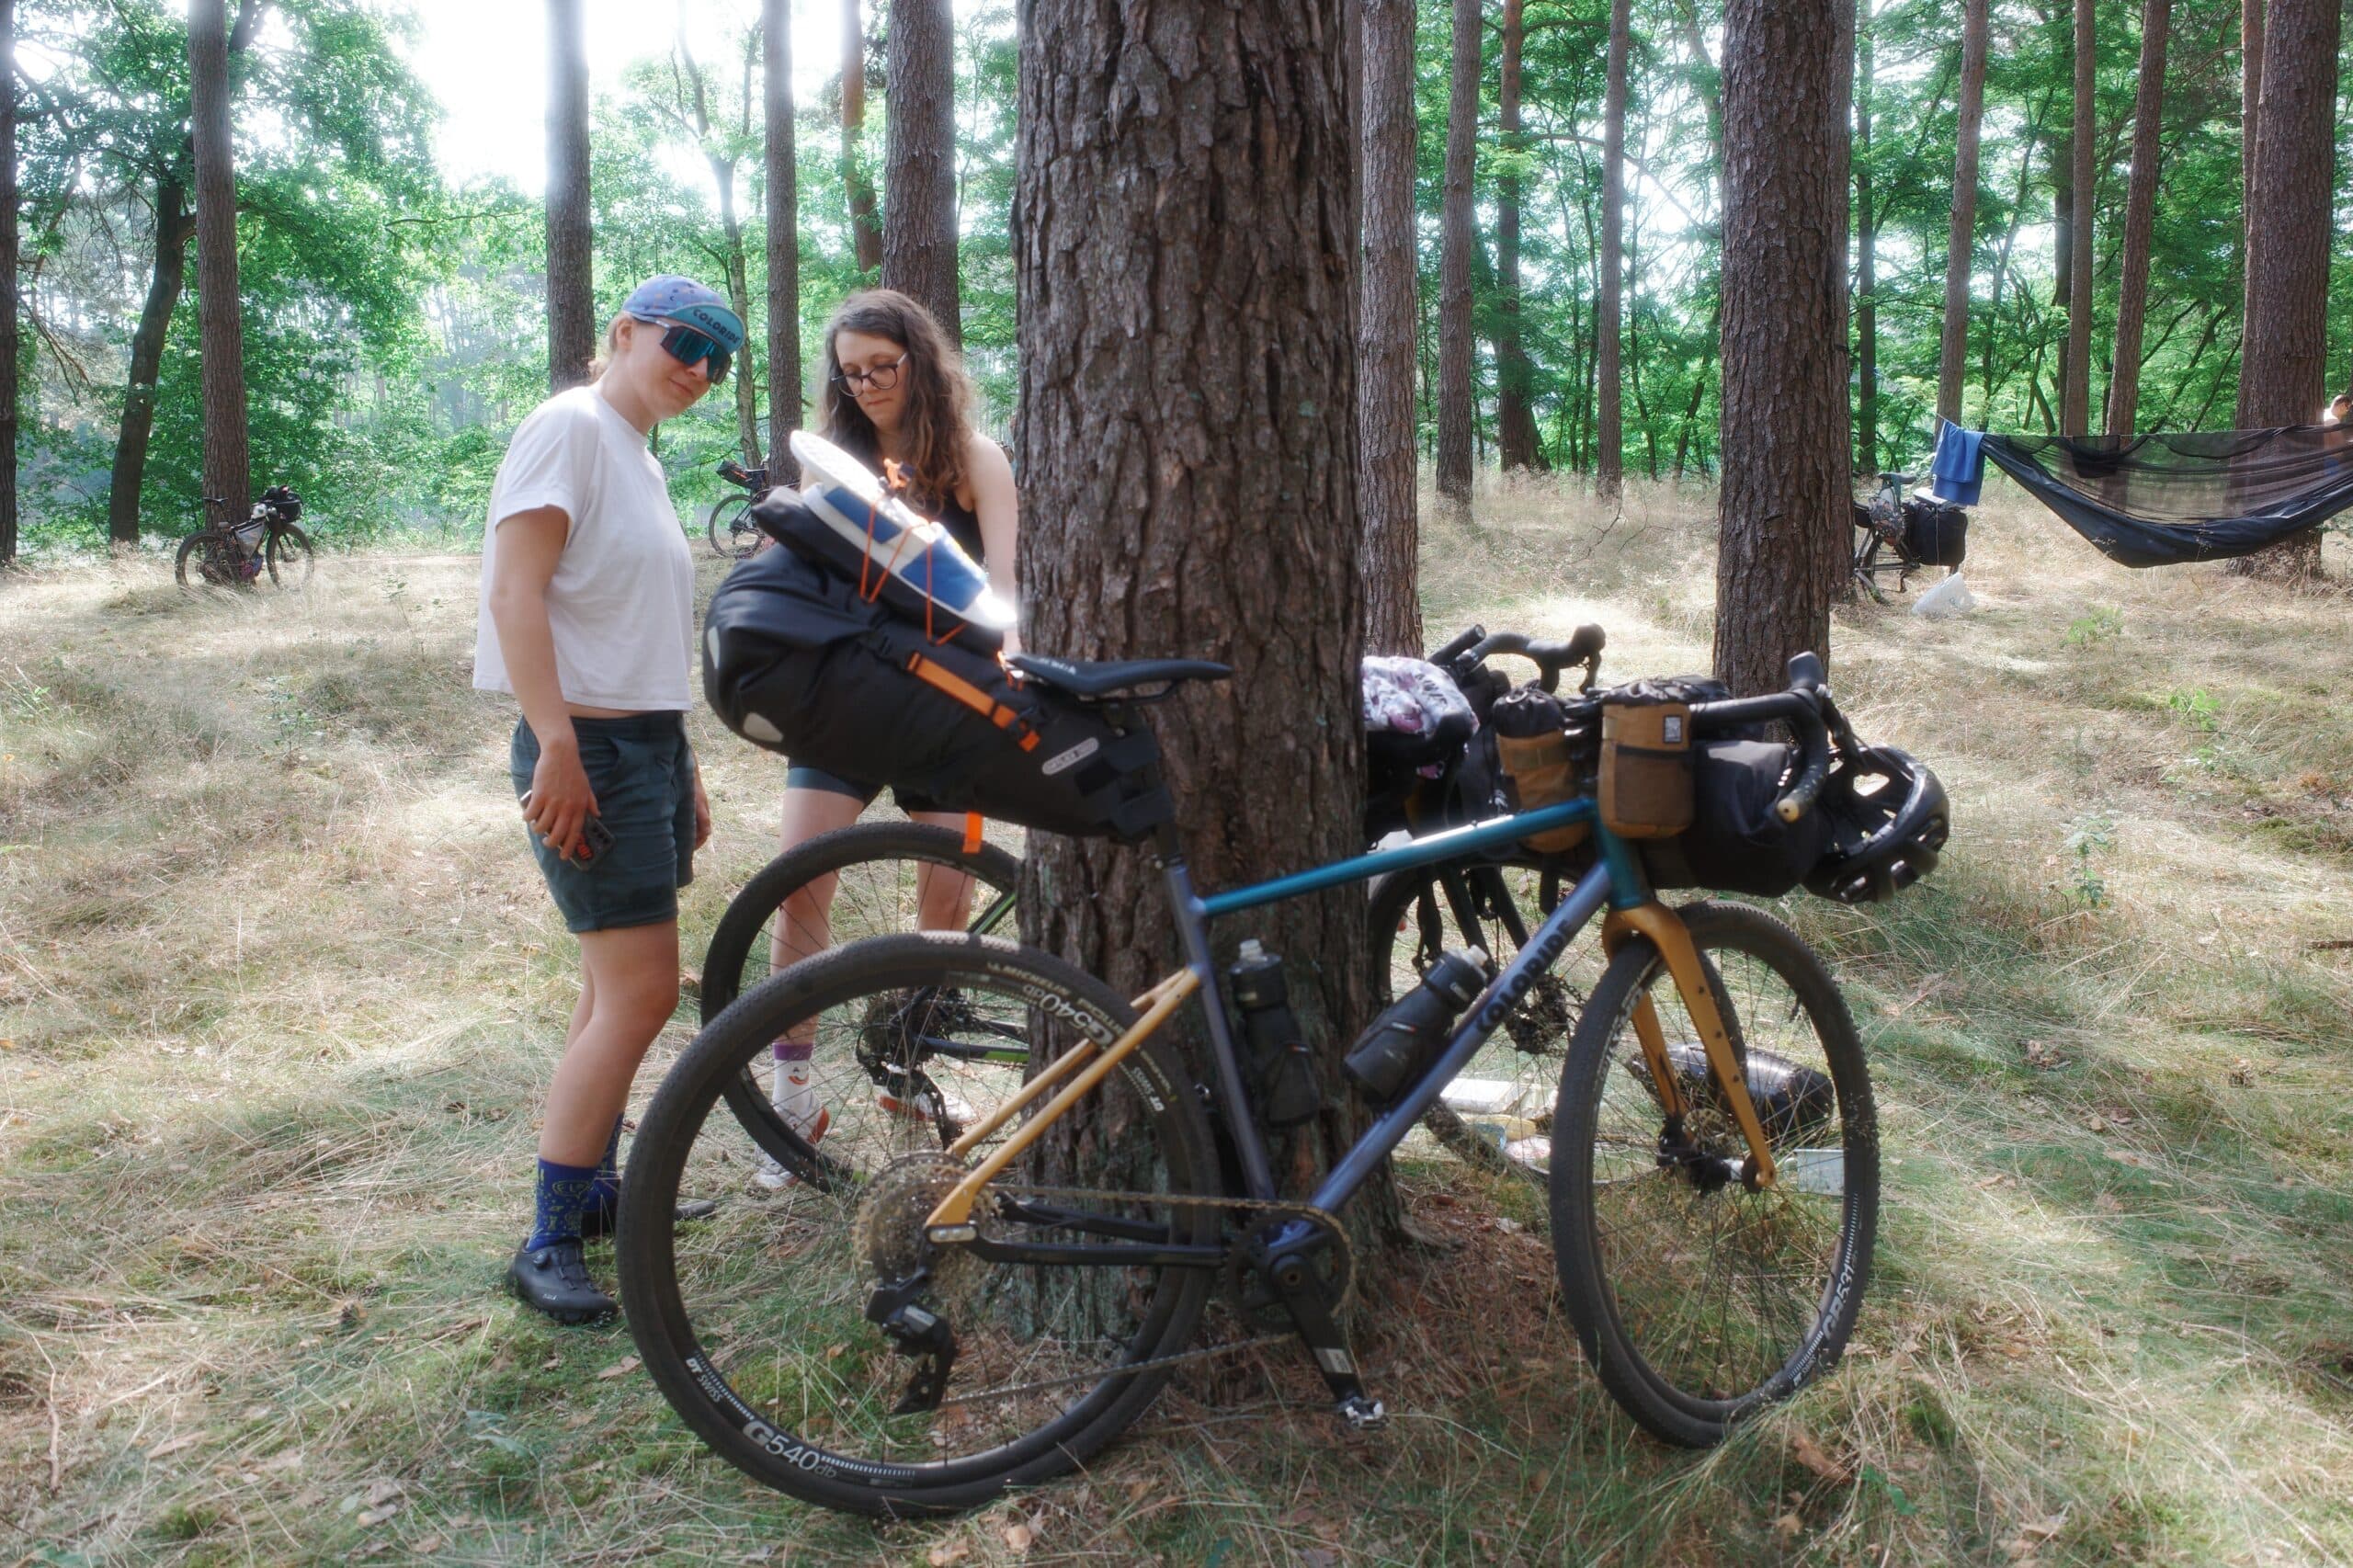

It may be quite strange, but a bikepacking trip into the field, even for one night, visually makes us a wanderer with luggage for a week. Regardless of the time we intend to spend in the field (except for long-term life journeys), the set we carry with us is very similar in volume, assuming that we want to sleep in something, wash and change, as well as eat something.
Self-sufficiency on the route
It is worth remembering that the specificity of our luggage will bedepends primarily on such factors as:
– length of the trip,
– season and weather conditions,
– nature of the route,
– availability of drinking water,
– whether we use local gastronomy or prepare meals on our own,
– whether we sleep in the field or in rented rooms.
In an earlier blog post, we talked about
If you don't already have a bikepacking kit or are looking for inspiration, find your style in
Practical bikepaking list:
This is a list of practical things that you need or should take to be able to fully and independently spend your days and nights in the field. This includes both accommodation and self-preparation of meals.
Bike equipment:
– bicycle navigation (unless you use a phone or traditional maps)
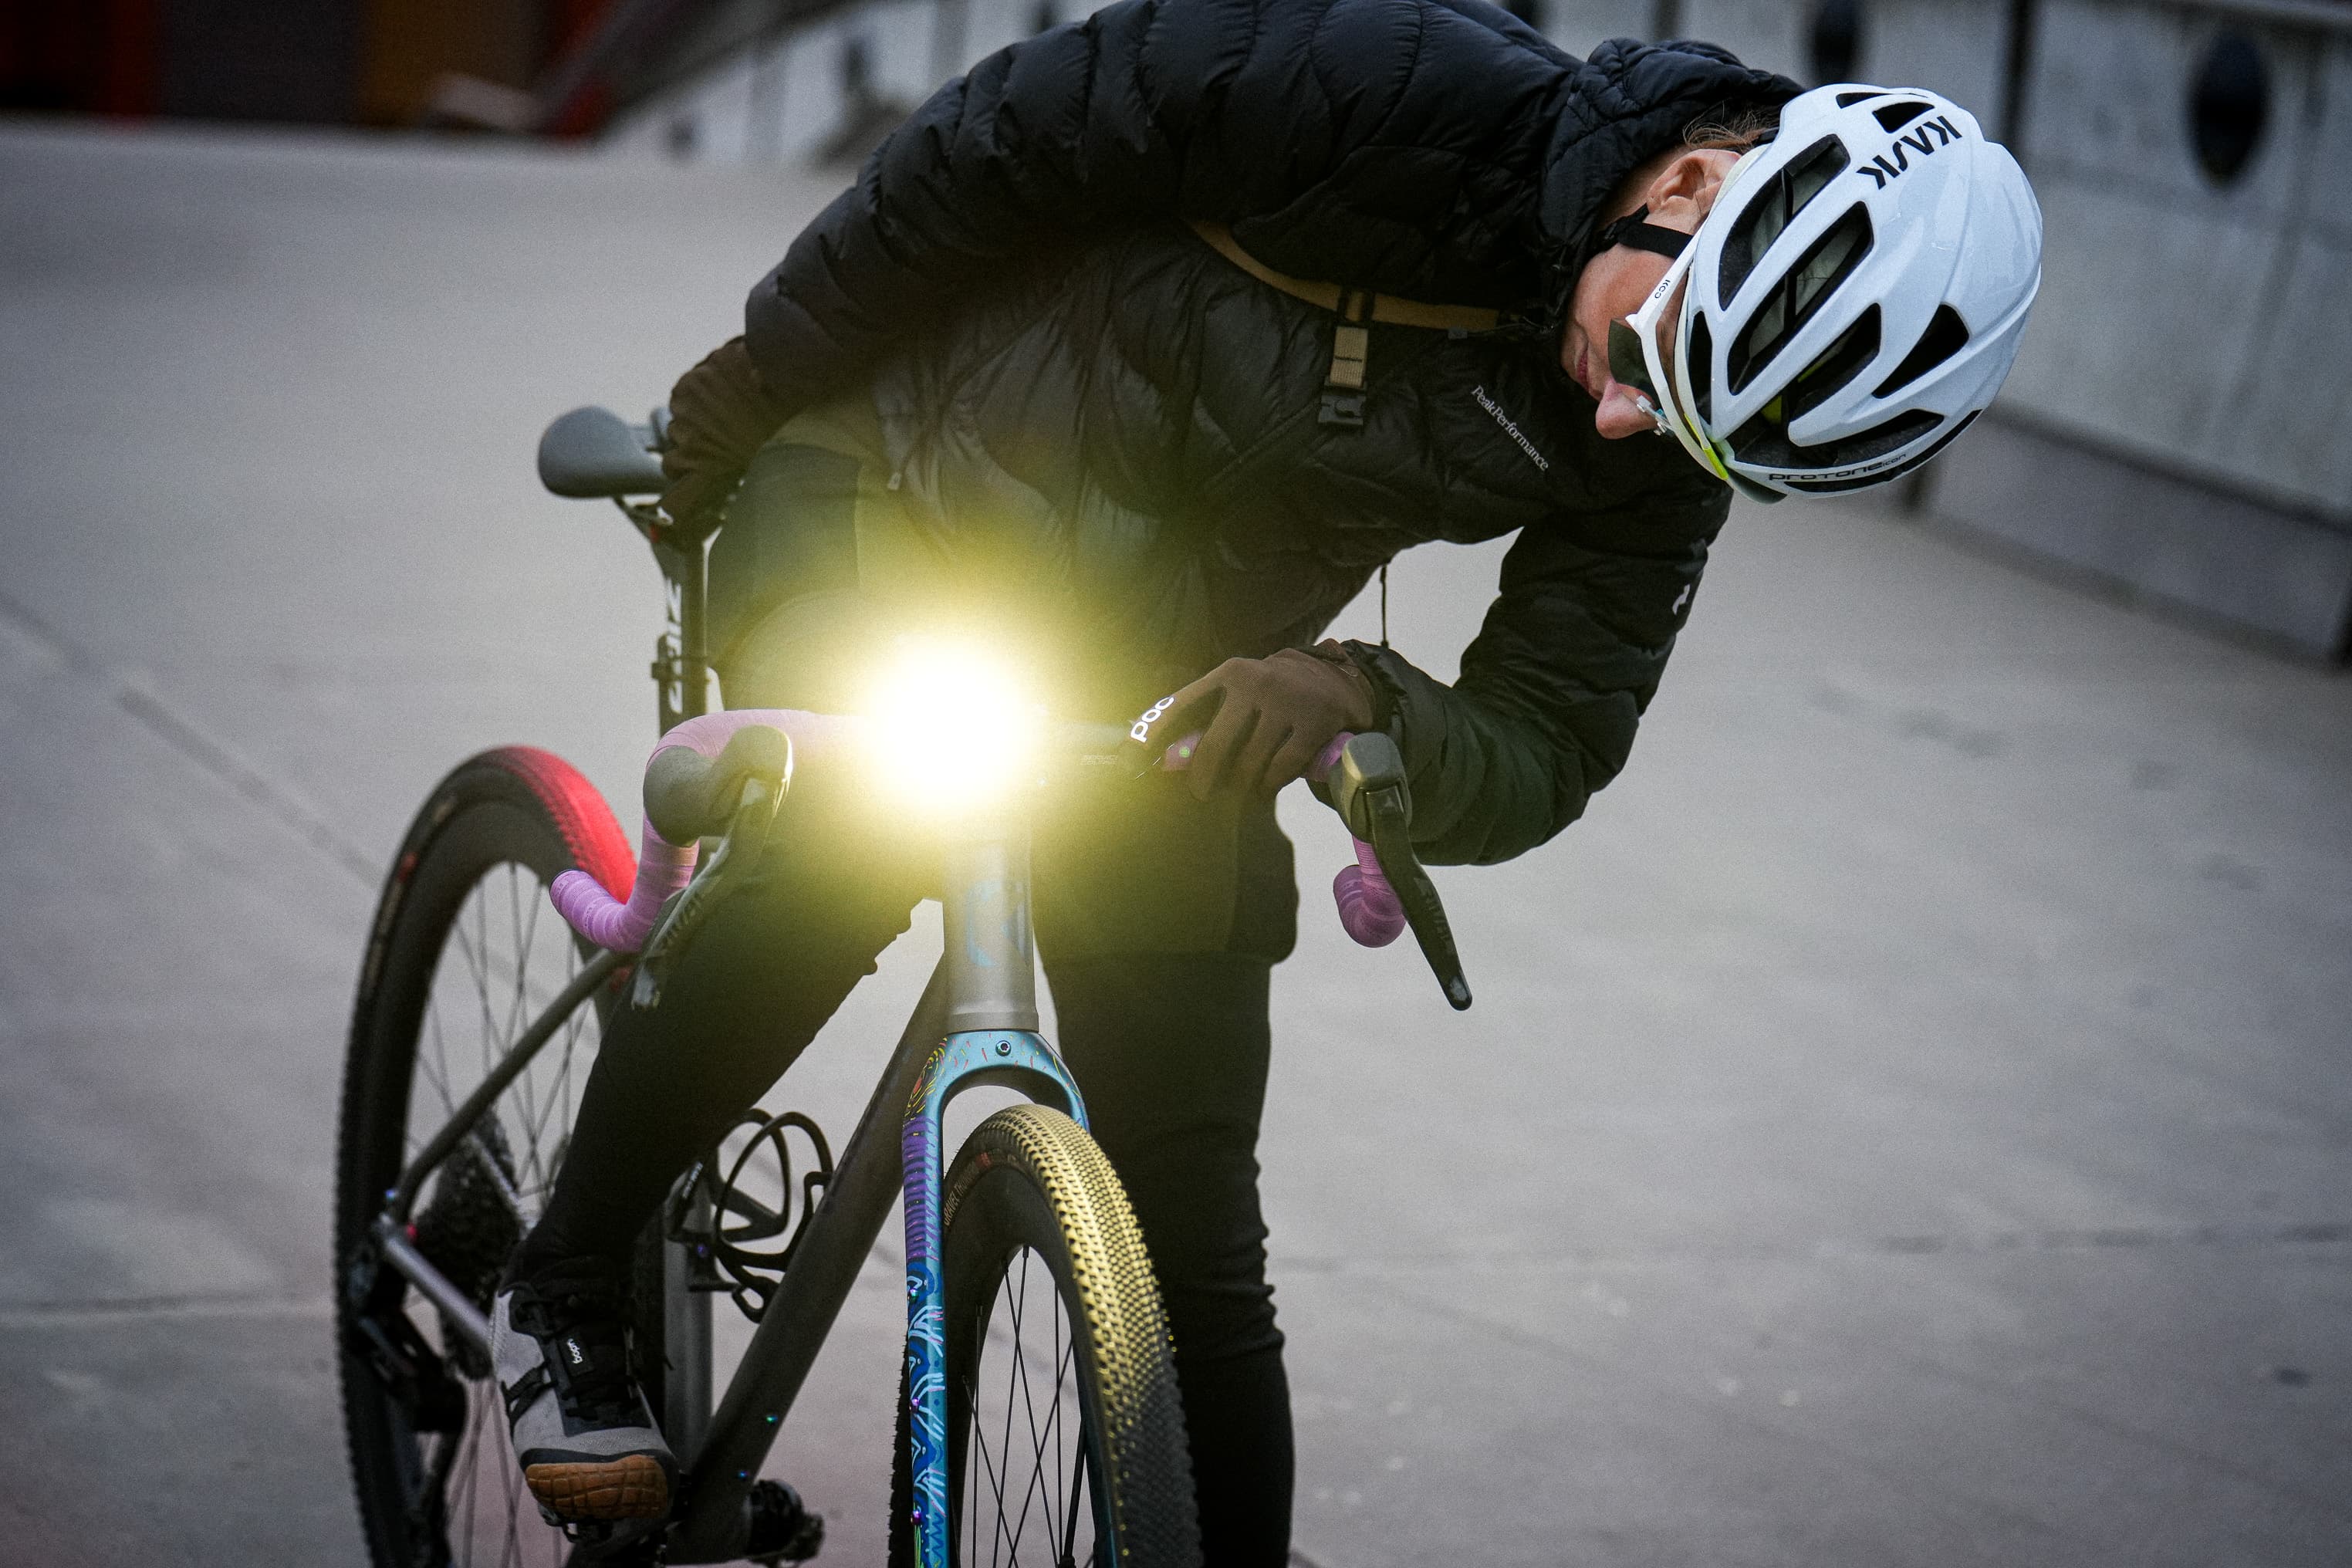
– front and rear lamp
– 2 water bottles
– toolbox including (optional) inner tube and tubeless system:multitool, inner tube, spoons, patches, pump, CO cartridge, wicks, chain clip, chain oil/grease/wax, cloth
Optional: ass saver mudguards if you do not have fixed mudguards and the weather forecasts are not very optimistic.
Bike Clothing:
– 2 pairs of bibs
– 2 pairs of T-shirts
– 2 pairs of socks
– sweatshirt
– windbreaker/rain jacket
– glasses (photochromes or with interchangeable lenses)
– helmet
– riding shoes
Optional: gloves, buff, shoe covers


Camping clothes:
– leggings / tracksuits (I recommend merino wool)
– T-shirt (I recommend merino wool)
– wool socks
– down jacket
– underwear
– flip-flops
Optional: For chilly nights, a sweatshirt/jumper/trousers made of natural and non-clogging fabrics, a hat and gloves are a good combination with long-sleeved merino underwear
Spanko:
– tent
– inflatable tourist mattress
or
– hammock
–hammock strap (below 15 degrees Celsius, although thermal tolerance is an individual thing)
– tarp + herring
– sleeping bag
Optional: for those who are sensitive and appreciate more comfort – earplugs, eye band/buff, inflatable pillow
Kitchen:
– cup
– pocketknife
– spoon
fork – cartouche + burner + canteen or folding tourist stove
– lighter (matches easily catch moisture)
Optional: folding seat mat, condiments, coffee/tea, sponge and dishwashing liquid
Electronics:
– power bank with a capacity of at least 20,000 mAh
– cables and chargers for devices
– headlamp
– spare battery for the derailleur (if you have a systemelectronic)
– camera + batteries


Hygiene:
– quick-drying towel
– multifunctional gel (for body and hair)
– toothpaste and toothbrush
– cream with UV filter
– wet and dry wipes
– basic first aid kit
Optional: lipstick or ointment with vitamin A – soothes irritations and chapped lips from the sun, anti-abrasion cream (colloquially: for cycling butt pain)
MUST HAVE for bikepacking!
- Identity card
- Cash
- Cardpayment
- Garbage bags to clean up after camping
One step to the adventure!
When the whole set is in front of you, it's time to pack. This is a very strategic activity, during which it is worth thinking about:
- what things will be needed during the day/while driving and must be at hand (e.g. tools, first aid kit, food)
- which items must remain absolutely dry (e.g. clothes, sleeping bag)
- how to pack things to use the potential of the bags and not disturb the controllability of the bike.
Practical tips????
1.Before covering the frame with bags, it is worth protecting it with a protective film to avoid chafing and chipping of the paint at the points of contact.
2. Pack the accommodation set (tent/hammock, sleeping bag, tarp, chinstrap) in a steering wheel bag + (possibly) evenly in fork bags. Such a packaging system ensures lightness and does not interfere with maneuverability. Pay attention to whether the distance between the packed steering wheel bag and the tire is sufficient and there will be no rubbing when jumping on uneven terrain. In the event ofif necessary, remove the bag with an extra strap.
3. Put your essentials in the frame bag, even if they are heavier (first aid kit, food, tools, knife, water bottle, etc.)

4. Put the heaviest and least needed items – repair kit, cooking kit, makeup bag, clothes and food - into the saddle bag in order. Try to pack the bag tightly, letting out the air and tightening all the straps tightly. In this way, you will avoid "breaking" the bag and swinging sideways. If necessary, use the possibility of attaching light items to the bag.
5. In the bags for the fin or feedbag frame on the steering wheel bridge, hide the wallet,torch, battery, power bank, quick fix tools, sunscreen, snacks.
6. In the case of bicycles in small sizes, the bag under the upper tube (and the "triangle" bag in most bicycles) excludes the possibility of installing water bottles. The solution in this situation is:
- fixing water bottles in cages on a fork,
- fixing the water bottles under the frame,
- using a backpack with a skimmer or
- packing the skimmer into a triangle bag in the bicycle frameand attach the hose with the mouthpiece on the steering wheel.
7. Before each start, make sure that all fastening straps are tightly tensioned. This will protect you from damage to equipment and the frustration of frequent stops.

You're all set, it's time to hit the road!
Greetings,
Hania "Fairytale bike"
Photos: the Fish, Mamba on bike, Fairytale